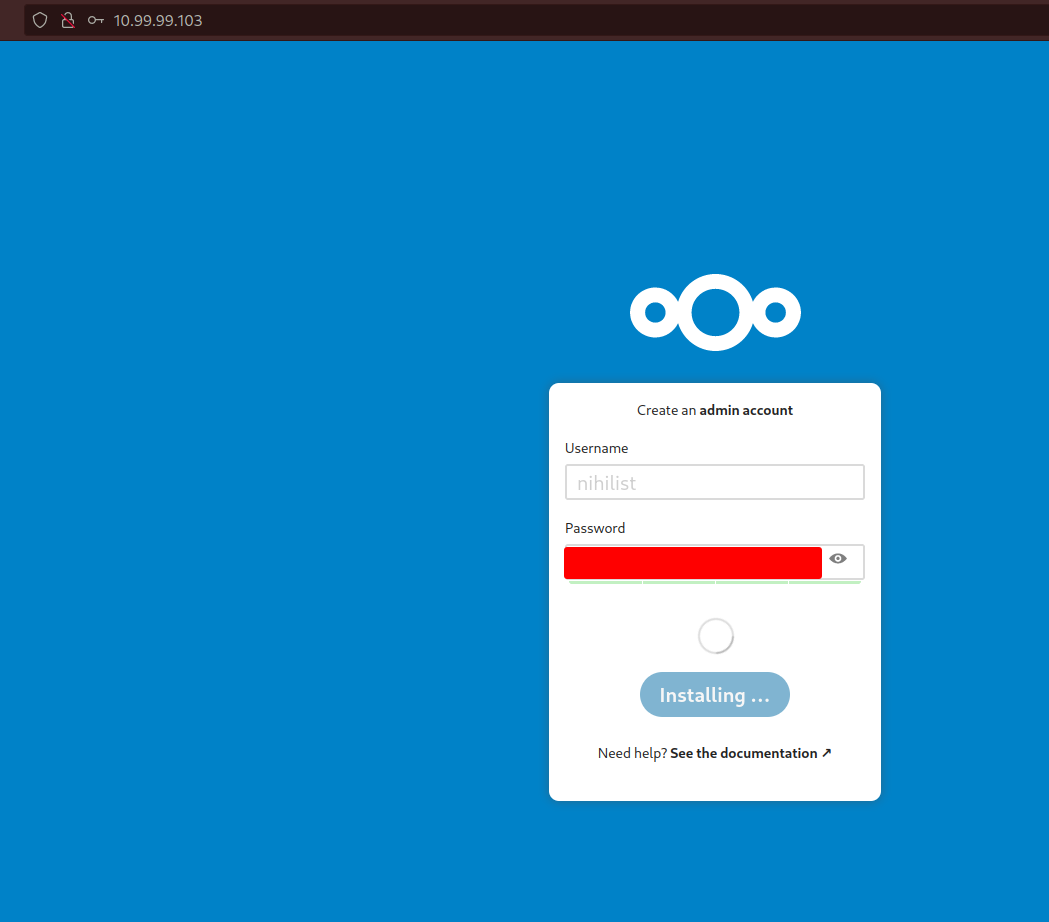
Configuring Nextcloud
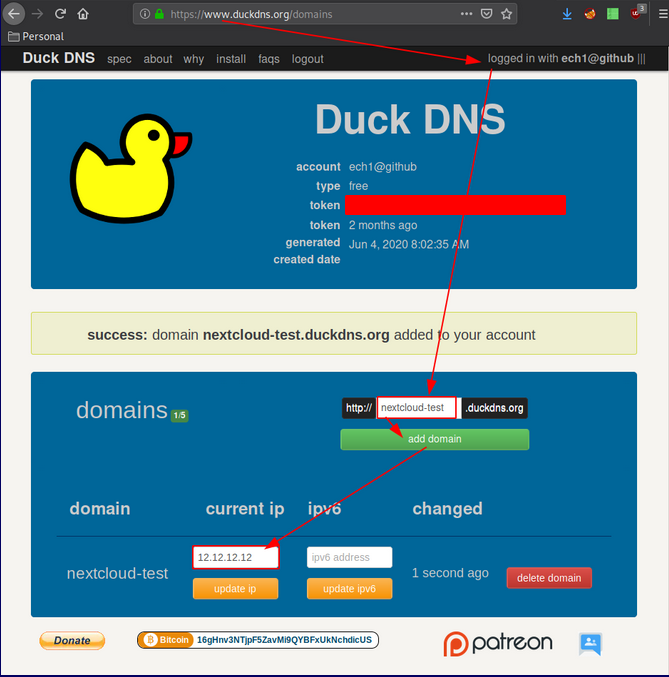
Now that we have the domain name pointing to the public ip address of the nextcloud server, we can setup the https certificate using let'sencrypt, just
ssh into your server once more and run the following commands:
	su -
	nextcloud.enable-https lets-encrypt
	nextcloud.occ config:system:set trusted_domains 1 --value=yourdomain.duckdns.org
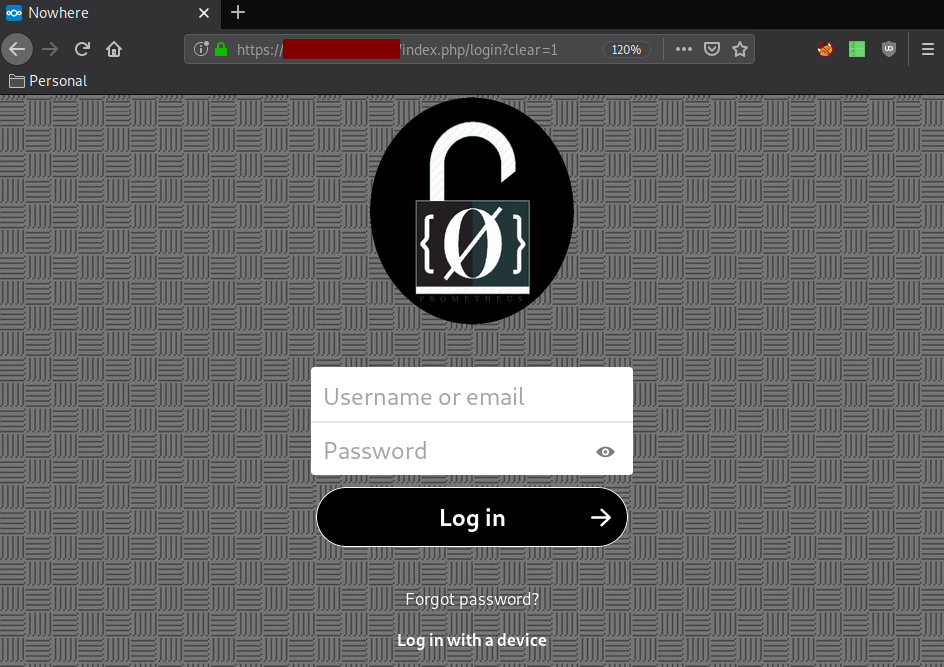
And once that's done, you can access your nextcloud instance from a free domain, which uses a free HTTPS certificate ! at https://yourdomain.duckdns.org/
If you installed this nextcloud server locally and behind a reverse nginx proxy, then you would need to allow the domain to be accessed:
root@cloud:/var/snap/nextcloud/common/nextcloud/data# PATH=$PATH:/snap/bin/
root@cloud:/var/snap/nextcloud/common/nextcloud/data# which nextcloud.occ
/snap/bin//nextcloud.occ

root@cloud:/var/snap/nextcloud/common/nextcloud/data#  nextcloud.occ config:system:set overwritehost --value="cloud.nihilism.network"
System config value overwritehost set to string cloud.nihilism.network

root@cloud:~# nextcloud.occ config:system:set overwriteprotocol --value="https"
System config value overwriteprotocol set to string https
In order to upgrade your nextcloud, you can run the following, and also add it to cron to run automatically every day at midnight:
root@cloud:~# sudo snap refresh nextcloud
snap "nextcloud" has no updates available

root@cloud:~# crontab -e

[...]

0 0 * * * /usr/bin/snap refresh nextcloud

:wq


--2022-12-17 20:34:07--  https://github.com/cronitorio/cronitor-cli/releases/download/28.8/linux_amd64.tar.gz
Resolving github.com (github.com)... 140.82.121.3
Connecting to github.com (github.com)|140.82.121.3|:443... connected.
HTTP request sent, awaiting response... 302 Found
Location: https://objects.githubusercontent.com/github-production-release-asset-2e65be/274548350/682877d8-1d52-4029-9777-425f3da0f77c?X-Amz-Algorithm=AWS4-HMAC-SHA256&X-Amz-Credential=AKIAIWNJYAX4CSVEH53A%2F20221217%2Fus-east-1%2Fs3%2Faws4_request&X-Amz-Date=20221217T193407Z&X-Amz-Expires=300&X-Amz-Signature=1bf21514b0120917047558bc2d6de9d2f900d34dba04cfd3d30838b59ae4701e&X-Amz-SignedHeaders=host&actor_id=0&key_id=0&repo_id=274548350&response-content-disposition=attachment%3B%20filename%3Dlinux_amd64.tar.gz&response-content-type=application%2Foctet-stream [following]
--2022-12-17 20:34:07--  https://objects.githubusercontent.com/github-production-release-asset-2e65be/274548350/682877d8-1d52-4029-9777-425f3da0f77c?X-Amz-Algorithm=AWS4-HMAC-SHA256&X-Amz-Credential=AKIAIWNJYAX4CSVEH53A%2F20221217%2Fus-east-1%2Fs3%2Faws4_request&X-Amz-Date=20221217T193407Z&X-Amz-Expires=300&X-Amz-Signature=1bf21514b0120917047558bc2d6de9d2f900d34dba04cfd3d30838b59ae4701e&X-Amz-SignedHeaders=host&actor_id=0&key_id=0&repo_id=274548350&response-content-disposition=attachment%3B%20filename%3Dlinux_amd64.tar.gz&response-content-type=application%2Foctet-stream
Resolving objects.githubusercontent.com (objects.githubusercontent.com)... 185.199.110.133, 185.199.108.133, 185.199.109.133, ...
Connecting to objects.githubusercontent.com (objects.githubusercontent.com)|185.199.110.133|:443... connected.
HTTP request sent, awaiting response... 200 OK
Length: 6326130 (6.0M) [application/octet-stream]
Saving to: ‘linux_amd64.tar.gz’

linux_amd64.tar.gz                                           100%[===========================================================================================================================================>]   6.03M  6.47MB/s    in 0.9s

2022-12-17 20:34:09 (6.47 MB/s) - ‘linux_amd64.tar.gz’ saved [6326130/6326130]

root@cloud:~# sudo tar xvf linux_amd64.tar.gz -C /usr/bin/
cronitor
root@cloud:~# sudo cronitor configure --api-key 1234567890

Configuration File:
/etc/cronitor/cronitor.json

Version:
28.8

API Key:
1234567890

Ping API Key:
Not Set

Environment:
Not Set

Hostname:
cloud

Timezone Location:
{Europe/Paris}

Debug Log:
Off
root@cloud:~# cronitor select

✔ /usr/bin/snap refresh nextcloud
----► Running command: /usr/bin/snap refresh nextcloud

snap "nextcloud" has no updates available

----► ✔ Command successful    Elapsed time 0.451s
By default the nextcloud instance does not allow uploading large files, so to fix that you can do the following (as stated here
root@cloud:~# snap set nextcloud php.post-max-size=20G

#and if you put your nextcloud behind a nginx reverse proxy, you will need the "client_max_body_size 20G;"  line in the nginx config.

[ 10.8.0.2/24 ] [ home ] [~]
→ cat /etc/nginx/sites-available/cloud.nihilism.network
upstream cloudbackend {
        server 10.0.0.103:80;
}

server {
        listen 80;
        listen [::]:80;
        server_name cloud.nihilism.network;
        return 301 https://$server_name$request_uri;
}

server {
        listen 443 ssl http2;
        listen [::]:443 ssl http2;
        server_name cloud.nihilism.network;

        ssl_certificate /root/.acme.sh/cloud.nihilism.network/fullchain.cer;
        ssl_trusted_certificate /root/.acme.sh/cloud.nihilism.network/cloud.nihilism.network.cer;
        ssl_certificate_key /root/.acme.sh/cloud.nihilism.network/cloud.nihilism.network.key;

        ssl_protocols TLSv1.3 TLSv1.2;
        ssl_ciphers 'TLS13-CHACHA20-POLY1305-SHA256:TLS13-AES-256-GCM-SHA384:TLS13-AES-128-GCM-SHA256:ECDHE-ECDSA-CHACHA20-POLY1305:ECDHE-RSA-CHACHA20-POLY1305:ECDHE-ECDSA-AES256-GCM-SHA384:ECDHE-RSA-AES256-GCM-SHA384:ECDHE-ECDSA-AES128-GCM-SHA256:ECDHE-RSA-AES128-GCM-SHA256:ECDHE-ECDSA-AES256-SHA384:ECDHE-RSA-AES256-SHA384:ECDHE-ECDSA-AES128-SHA256:ECDHE-RSA-AES128-SHA256';
        ssl_prefer_server_ciphers on;
        ssl_session_cache shared:SSL:10m;
        ssl_session_timeout 10m;
        ssl_session_tickets off;
        ssl_ecdh_curve auto;
        ssl_stapling on;
        ssl_stapling_verify on;
        resolver 80.67.188.188 80.67.169.40 valid=300s;
        resolver_timeout 10s;

        add_header X-XSS-Protection "1; mode=block"; #Cross-site scripting
        add_header X-Frame-Options "SAMEORIGIN" always; #clickjacking
        add_header X-Content-Type-Options nosniff; #MIME-type sniffing
        add_header Strict-Transport-Security "max-age=31536000; includeSubDomains; preload";

        location / {
                proxy_pass http://cloudbackend;
                proxy_http_version 1.1;
                proxy_set_header Upgrade $http_upgrade;
                proxy_set_header Connection "Upgrade";
                client_max_body_size 20G;
        }
}